Gleanings of the Week Ending July 28, 2012

The items below were ‘the cream’ of the articles I read this past week. Click on the light green text to look at the article:

Colorful Science Sheds Light On Solar Heating - visualization from the Solar Dynamics Observatory. There is a short video to explain how they do the color coding.

You May Never Need to Clean Your Car Again, Thanks to New Coating Technology - estimated 6-8 years to production. If it works - it will be used on many more things that cars

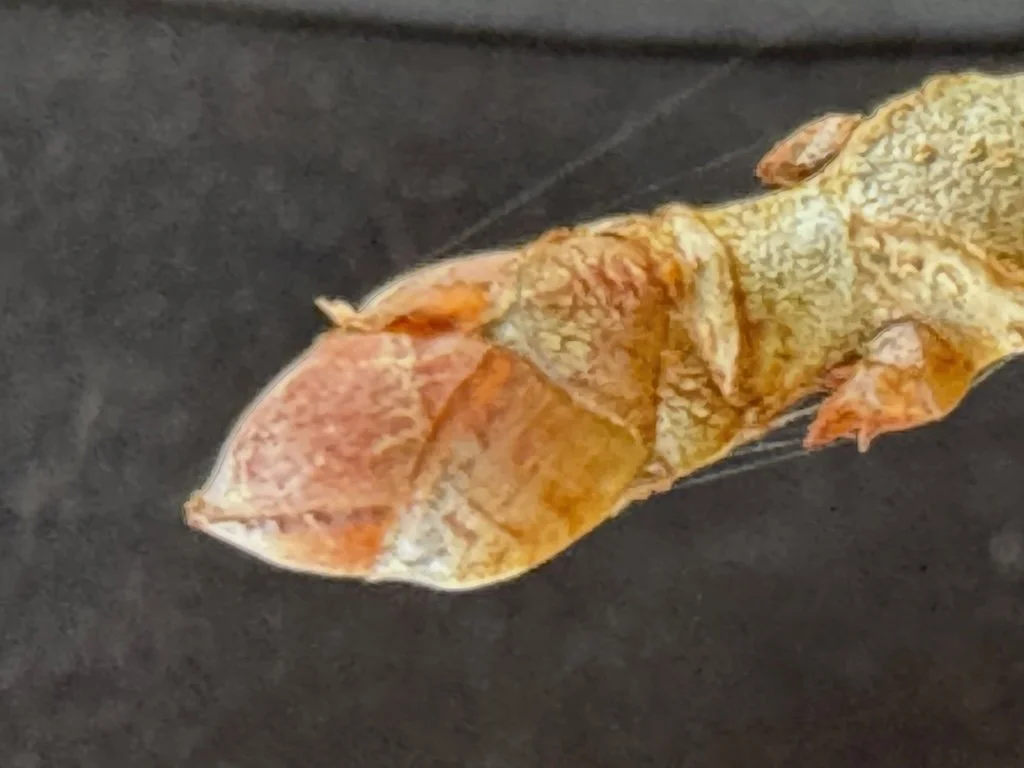
Radiant creatures and their fluorescent proteins - DayGlo color from living organisms. Also take a look at the slideshow.

Insider Tips From The Grand Teton National Park Foundation - This is a recent post about Grand Teton but the site includes posts on all the parks…check it out as you plan a visit to one of them

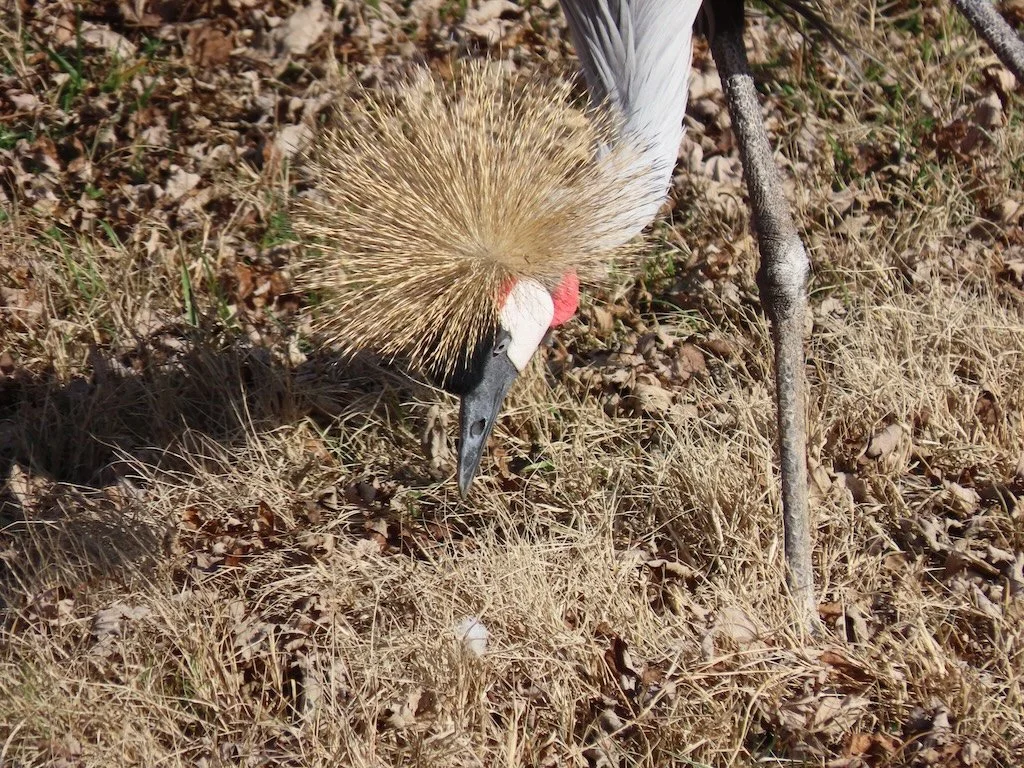
Mad About Moths – National Moth Week! - Butterflies tend to capture more attention….but moths are interesting too!

A California jail offers a glimpse of the economic and environmental benefits of locally generated energy - microgrids already are cost effective in some parts of the country particularly for organizations that require very reliable power (hospitals, prisons, data centers, etc.) and their cost is coming down

Chris Helzer - Prairie ecologist and photographer - video that shares photos from the prairie; there’s a lot there to see

The Devil’s Pool - The swimming hole at the top of Victoria Falls (video)

Massive Ice Melt In Greenland - 97% of the Greenland ice sheet has surface melting. Last time it occurred was in 1889 based on ice cores. It went from 40% to 97% in 4 days!

Treatise on Landscape Painting in Water-colours - by David Cox and C. Geoffrey Holme and published in 1922. The images are not in color but they are detailed and still evoke stories of place. The link above is directly to the beginning of the image section in the ‘read online’ double page format that I prefer for books like this; the image below is what that format looks like and the green arrows show how to ‘page forward’ . To view the book in a different format, start with the main entry for the book on the Internet Archive here.

archive book.jpg

Interior House Painting - Part II

Our house is getting a much needed fresh coat of paint on its interior. It’s about 20 years old and most of the paint was original so it was time. A few days ago I posted about what I did ‘before the painters’; today I’ll follow up to report what actually happened during the painting. This is part II of our painting saga!

~~~~~

After several weeks of prep work, the big day came. There would be 4-5 people painting for 4 days and then 2 people the last day to finish up painting the entire interior of the house.

On the first day everything I could do had been done for the master bedroom/bath/closets and the upstairs rooms. Curtains were down, furniture was in the center of the room, the walls were empty, and everything electric was unplugged and moved to the center or elsewhere. I used our loft area for lamps and overflow furniture from the other rooms; it would be painted on a later day (day 4). That strategy allowed me to minimize the rearranging required between rooms as the painters worked. I merely moved lamps and furniture back where they belonged after those rooms were painted.

On day 2 the upstairs was finished except for the hall and the loft. In addition the living room and dining room was completed. That was the one day five people worked. The surprise for me was how hard custom drapes can be to take down (and get hung again) in the living room and dining room. I had made an attempt to take them down but ended up having the painters do it with their ladders on day 2 before those areas were painted and they went back up on day 5. We ended up vacuuming them. If I had planned ahead, I might have been able to rush them to the dry cleaners.

Day 3 was when the most substantial surprise occurred. There was some water damage in an upstairs ceiling from a roof problem. The initial plan was to replace the drywall in that area - about a 2x2’ area. When they started doing the repair they realized it was a bigger area and insulation began falling out of the ceiling as they made the hole large enough to repair the damage. Insulation had to be replaced. They worked some extra hours to get the repair made so they could get the first coat of paint on it during day 4.

Day 3 was also the day the kitchen was painted. I had not been able to get the curtains over the sink down and the painters couldn’t either - so they wrapped plastic around them and painted with the curtains in place!

Day 4 was a huge catch up day. The larger repair of drywall was sanded and painted. The upstairs hall, foyer, and loft were painted. That left some baseboards, window frames, doors and the laundry room for day 5. The rehanging of the custom curtains took a significant amount of time.

Now that the job is complete - I’m very grateful that the painting crew I hired was committed to cleaning up each and every day and vacuuming while they worked if dust was being created. When the insulation started falling out of the ceiling I had visions of the mess extending far beyond the actual work area and that I would be working on the clean up after they left for the evening. It was a pleasant surprise to find everything cleaned up and in a large plastic trash bag. They made a pile of their materials each day in an out-of-the-way place - usually in the room/rooms they would be working on the next day.

When they left the last day everything was cleaned up - all the outlet and switch plates were back in place - and most of the tape was off the door knobs (they missed three door knobs…but that was easy for me to do myself).

The house seems very clean…like new. There are some walls that look better than they looked when we moved into the house when it was as few years old. This fresh coat of paint is my extreme form of ‘spring cleaning’ for 2012.

Interior House Painting - Part I

Our house is getting a much needed fresh coat of paint on its interior. It’s about 20 years old and most of the paint was original so it was time. I took the normal route of asking around for recommendations from people in the neighborhood - got 3 estimates - and then waited a month or so because the one I chose was so busy. The wait turned out to be an advantage because it allowed us more time to prepare. This first post will talk about that ‘before the painters’ work and then I’ll do a follow up post in a few days that will report on what actually happened during the painting.

All the painters I got estimates from gave suggestions about how to prepare the rooms for painting. The more I could do, the faster they could work and the less it would cost me in their labor. Some things I learned from the painters and as I prepared:

  • Empty book cases and china cabinets. They are too heavy to move filled with stuff.
  • Furniture needs to be moved toward the center of the room - at least 2 feet from the walls. I put a measuring tape around my neck as I moved furniture out from the walls. Make the furniture group off center if there is an overhead light fixture they will need to paint around.
  • Everything hanging on the walls or ceiling must come off. If you are going to rehang pictures - leave the nails and they won’t fill in the hole. If you are not going to rehang things, take the nails and screws out and have them fill the holes.
  • Take down the drapes if you can. I got about half mine down. The others were high enough I let the painters take them down. Launder the ones that are washable. Decide if you will dry clean the drapes that require that; if not - at least vacuum them thoroughly while they are down.
  • As you move furniture - take advantage of the easier access to the carpeting that was underneath and vacuum that area (multiple times).
  • Use under tables (or grand pianos) as storage area. Pack things compactly so that space is used efficiently. Load up kitchen cabinets.
  • Be prepared to take lamps to rooms that are not being painted so they will be out of the way of the painters.
  • Think about which rooms should be painted together and prepare accordingly. For example - a living/dining room that is connected should be painted at the same time.
  • Clear all surface areas (like kitchen counter tops if there is surface to paint between cabinets and counter tops). Beds can be heaped with clothes and then they can cover them with plastic.
  • Decide if you want the closets painted. We only had the walk-in ones in the master bedroom painted. Load up the ones won’t be painted to get everything out of the way.